1qhg-nmr-states from David Oppenheimer on Vimeo.
When I teach introductory biology, I like to demonstrate how proteins are not rigid structures but are quite dynamic. However, showing this is not trivial. The best way to do this would be to carry out molecular dynamics computer simulations using a known protein structure. Molecular dynamics simulation software is not easy to use, and can take a long time to run depending on the computer hardware available. An alternative is to simulate true molecular dynamics by morphing between the different states of a protein structure that was determined by nuclear magnetic resonance (NMR).
When protein structures are determined using NMR, the proteins are in their native conformation in solution. In addition, when the structure for the protein is solved, multiple states of the protein are determined, each of which represents a different snapshot of the protein’s shape. By morphing the protein structure between each of the states, one can simulate the dynamics of the protein. The movies created this way do not represent the true molecular dynamics of the protein, but work well for demonstration purposes and are relatively easy to create.
Here I will demonstrate how I made a movie using the NMR structures of human cofilin, the main protein that disassembles actin filaments in cells.
Step 1. Get a protein structure that was determined by NMR.
The easiest way to do this is to go to the RCSB Protein Data Bank website and either search for your protein of interest, or just search for all protein structures determined by NMR. Click on the Search tab on the left, click Experimental Method from the choices, then choose Solution NMR. On the next page, you can refine your query further by restricting to a type of protein or a specific organism. From the resulting list, note the PDB ID, which is consists of 4 letters and numbers (such as 1q8g, which is the PDB ID for the NMR structure of human cofilin).
Step 2. Go to the MovieMaker website.
Click the button next to NMR Ensemble Motions then click continue. Enter the PDB ID of your protein in the Enter a PDB accession number: box, then click Submit. It will take a while for the page to reload, and for your morphing files to be created. When the page reloads and your files are ready, click the Download PDB Files link to download the pdb files to your computer.
Step 3. Start PyMOL and load all the pdb files.
Type the following into the PyMOL command line.
> cd path/to/your/pdb-files
> for idx in range(0,95):cmd.load("int_struct%d.pdb"%idx,"mov")
The first command changes directories so that PyMOL can find your downloaded pdb files. The second command loads those files into PyMOL as a movie. The range(0,95) corresponds to the number of pdb files in the directory. The MovieMaker site numbers the files from 0 to 94 (95 files), but PyMOL does not want to use 0 as the first state. Setting the range to be range(0,95) results in all 95 files being loaded. The "int_struct%d.pdb" tells PyMOL that the pdb files have a prefix of int_struct followed by a number %d and the extension, .pdb.
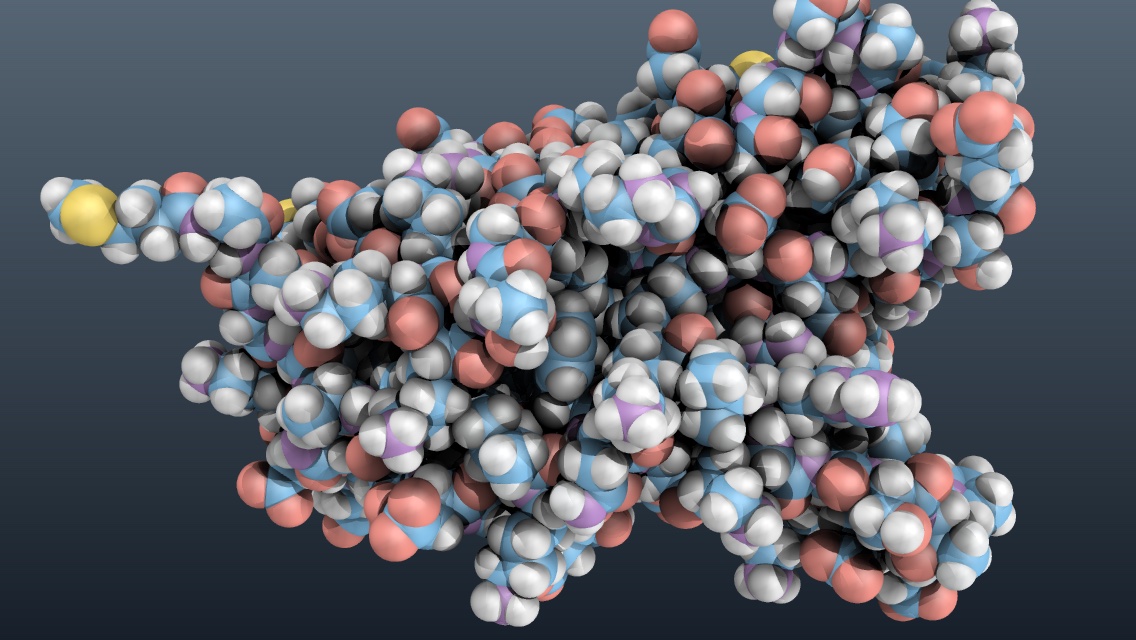
Step 4. Make the protein look pretty.
Lately, I’ve been fond of the space filling models shown with pseudo-ambient occlusion lighting. I have taken the QuteMol Like script from the PyMOLWiki Gallery and tweaked it just a bit to give me the effect I wanted. I have included the script as a GitHub Gist, below. This script will also set up the movie frames.
Notes
- To test the movie, turn off ray tracing of frames: paste
set ray_trace_frames=0into the PyMOL command line. When you are ready to create the frames of the movie, turn ray tracing back on:set ray_trace_frames=1. - The lighting settings make the protein look really washed out in the PyMOL viewer, but the protein will look great once it is ray traced.
- The
set_viewcommand in the script is specific for the human cofilin file (1q8g) that I chose as an example. You can delete that view and include your own if desired.
Step 5. Save the movie frames created by PyMOL.
Create a directory in which to save your movie files. Once you have run the script above, Go to File->Save Movie As->PNG Images. Choose the empty directory you just created, provide a file name, and click Save. Now you have a directory containing numbered png images each representing one frame of your movie. If you pay for the PyMOL subscription, there is an option to save the movie as an MPG, which may be easier than building a movie from PNG images.
Note
- Check the file dimensions of the png images created by PyMOL. The settings in the script should set the viewport, and hence the png images to 720 x 720 px. However, I have run into errors in the next section and found that the images were 720px x (some other number)px. The fix was to run the
viewport 720, 720command again. I still have not figured out what causes this.
Step 6. Make the movie.
I have previously installed the free command line video tool, FFMPEG. There is definitely a learning curve when using ffmpeg, but luckily, there are lots of tutorials on the web for your learning enjoyment. Here are the options I used to make the movie at the start of this post. I got the explanations from the Joy of Data blog and the ffmpeg manual. Here are the options I used:
ffmpeg
  -framerate 30     # input frame rate
  -i image%03d.png  # image names (image000.png, ..., image999.png)
  -s:v 720x720      # video size
  -c:v libx264      # encoder
  -profile:v main   # H.264 profile for video
  -crf 12           # constant rate factor (0 to 23, 0 is lossless)
  -pix_fmt yuv420p  # pixel format; changes the rgb from the pngs to yuv
  -preset veryslow  # encoding speed (slow but higher quality per file size)
  -tune stillimage  # tunes the encoding settings for images
  -r 30             # output frame rate
  output_file.mp4   # movie file name
When you put it all together, you get:
$ ffmpeg -framerate 30 -pattern_type glob -i '*.png' -s:v 720x720 -c:v libx264 -profile:v main -crf 12 -tune stillimage -pix_fmt yuv420p -preset veryslow -r 30 cofilin-dynamics.mp4
Open Terminal and move into the directory that contains all the png images generated by PyMOL. Run the ffmpeg command with all the options. This should create a .mp4 file in the same directory if all goes well. These movies look great on my computer and pretty good when uploaded to Vimeo or YouTube. I should probably tweak the ffmpeg settings to optimize video quality.
Final Thoughts
This method works well to generate movies showing the NMR states of a protein. It is not exactly the same as a molecular dynamics simulation, but it does show a reasonable approximation for how proteins may move in solution. My students like these movies when I show them in lectures on protein structure.
Happy coding!
Update: Optimize the movie for Vimeo
To optimize the movie for Vimeo, I did the following:
Loaded the trajectory from MovieMaker in PyMOL
> cd ~/pymol-work/1-pymol-movies/pdb-directories/1q8g-hcofilin-pdb
> for idx in range(0,95):cmd.load("1qhg%d.pdb"%idx,"mov")
Commented out the mset command in the @nmr-states.txt script
Ran @nmr-states.txt script
Ran the following commands to make the movie frames
> mclear
> mset 1 -95 -2
> set cache_frames=0
> set ray_trace_frames=1
> cd ~/pymol-work/1-pymol-movies/1qhg-nmr-states
> mpng 1qhg-mov
The mclear command tells PyMOL to remove any saved frames from the cache.
The mset command tells PyMOL which states get included as frames of a movie. In our case, frames 1, 2, 3, …, 94, 95, then 94, 93, …, 4, 3, 2. Stopping at state 2 allows smooth motion when we loop the resulting exported movie.
The set cache_frames=0 command tells PyMOL to not save each frame in memory. If the frame cache is turned on, a large amount of memory is used saving the images in RAM.
The mpng command will write each frame of the movie to a separate file with the specified prefix, in this case, 1qhg-mov.
To test the movie, turn off ray tracing of frames: paste set ray_trace_frames=0 into the PyMOL command line. When you are ready to create the frames of the movie, turn ray tracing back on: set ray_trace_frames=1.
Once I had all the .png files, I used the following ffmpeg settings to make the movie.
$ cd  ~/pymol-work/1-pymol-movies/1qhg-nmr-states
$ ffmpeg -framerate 30 -pattern_type glob -i '*.png' -s:v 720x720 -c:v libx264 -crf 18 -tune stillimage -pix_fmt yuv420p -preset veryslow -r 30 1qhg-nmr-states.mp4